The starting point of this project was my fascination and admiration of the art featured on the rides at the fairground. This fascination lead to researching some of the different styles of work and the artists who created them.
From here I began to break down the methods and skills used to create such pieces. This involved sketches of the existing works and then colouring these sketches by experimenting with a vast array of mediums and here I began to gain a new level of respect for theses artists as it became clear how immense there skill level was to create such pieces.
The work of Fred Fowle was particularly inspirational after seeing a documentary in which he produces such incredible pieces with apparent ease as if he was simply painting a bedroom wall. It became important to me to highlight such skill which is largely ignored by the wider art community and this aim became what my project centres around and I feel I have succeed in reaching my aims. I have certainly struggled to grasp the skills required my self, though given the time and size constraints I am pleased with the work I've produced.
The John Wigston experiments of painting night scenes are what I regard as my best media experiments as they are a style that I have wanted to attempt for a number of years and within the two pieces I feel I have captured the excitement, brightness and atmosphere of the fair.
The biggest challenge I have come across was the Skid which took a lot of considering before even putting pen to paper but the final result makes it worth while and ties in well with my project demonstrating how I have taken the skills learnt in sampling the fairground artists and applying them to my own piece.
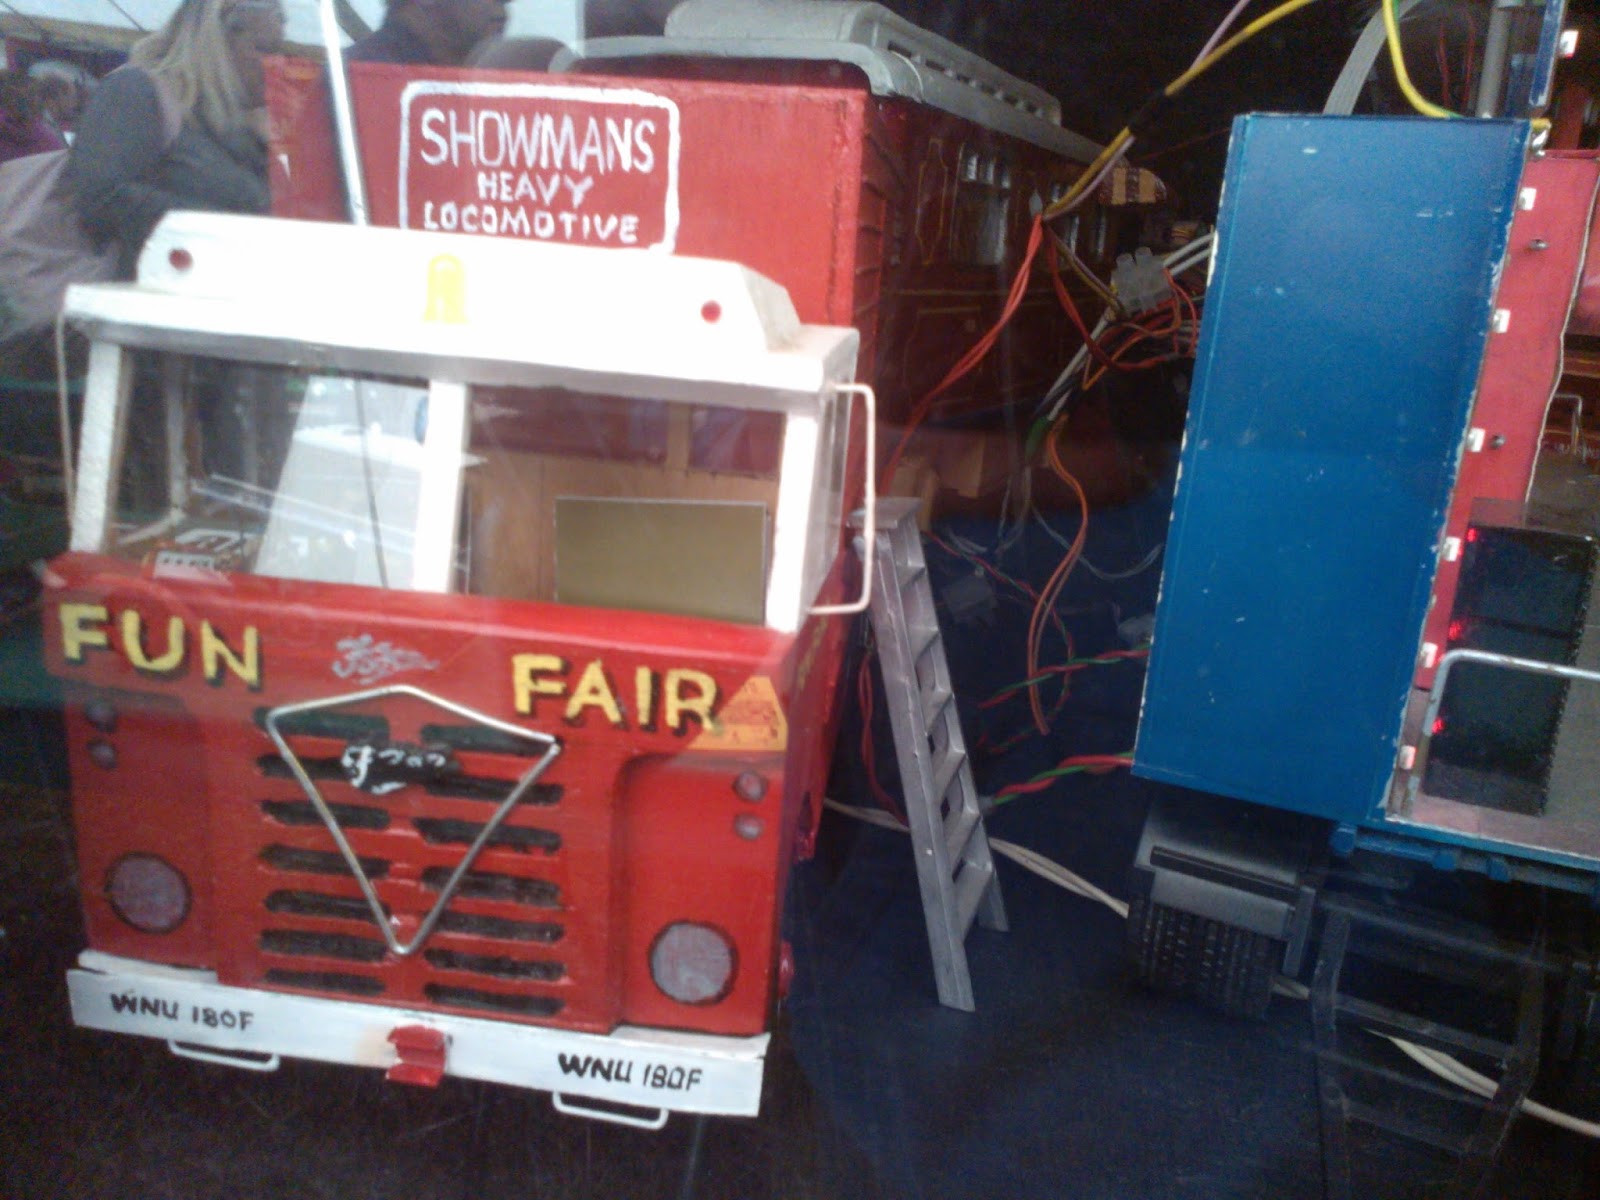
My final piece comes from time my dad spent working on the fair. The truck is one he drove and the stories and tales he has told have allowed me to really capture the moment behind the scenes of the fair that the public don't see but is so important to the creation of joy for a whole town.
In order to display my two 3 dimensional pieces I will require two plinths, an electric supply and good lighting to highlight the details included. By having these pieces in the almost alien environment of a gallery it should highlight the importance of spreading the appreciation of fairground art, the whole aim of my project.
If I had more time to develop my ideas I would focus on improving my skills in creating the artwork and then use this to hand paint the rides rather than digitally produce the artwork. Alongside this rather than a single ride I would have liked to produce an entire fair and really get the feel of the fair into the pieces.
From here I began to break down the methods and skills used to create such pieces. This involved sketches of the existing works and then colouring these sketches by experimenting with a vast array of mediums and here I began to gain a new level of respect for theses artists as it became clear how immense there skill level was to create such pieces.
The work of Fred Fowle was particularly inspirational after seeing a documentary in which he produces such incredible pieces with apparent ease as if he was simply painting a bedroom wall. It became important to me to highlight such skill which is largely ignored by the wider art community and this aim became what my project centres around and I feel I have succeed in reaching my aims. I have certainly struggled to grasp the skills required my self, though given the time and size constraints I am pleased with the work I've produced.
The John Wigston experiments of painting night scenes are what I regard as my best media experiments as they are a style that I have wanted to attempt for a number of years and within the two pieces I feel I have captured the excitement, brightness and atmosphere of the fair.
The biggest challenge I have come across was the Skid which took a lot of considering before even putting pen to paper but the final result makes it worth while and ties in well with my project demonstrating how I have taken the skills learnt in sampling the fairground artists and applying them to my own piece.
My final piece comes from time my dad spent working on the fair. The truck is one he drove and the stories and tales he has told have allowed me to really capture the moment behind the scenes of the fair that the public don't see but is so important to the creation of joy for a whole town.
In order to display my two 3 dimensional pieces I will require two plinths, an electric supply and good lighting to highlight the details included. By having these pieces in the almost alien environment of a gallery it should highlight the importance of spreading the appreciation of fairground art, the whole aim of my project.
If I had more time to develop my ideas I would focus on improving my skills in creating the artwork and then use this to hand paint the rides rather than digitally produce the artwork. Alongside this rather than a single ride I would have liked to produce an entire fair and really get the feel of the fair into the pieces.